

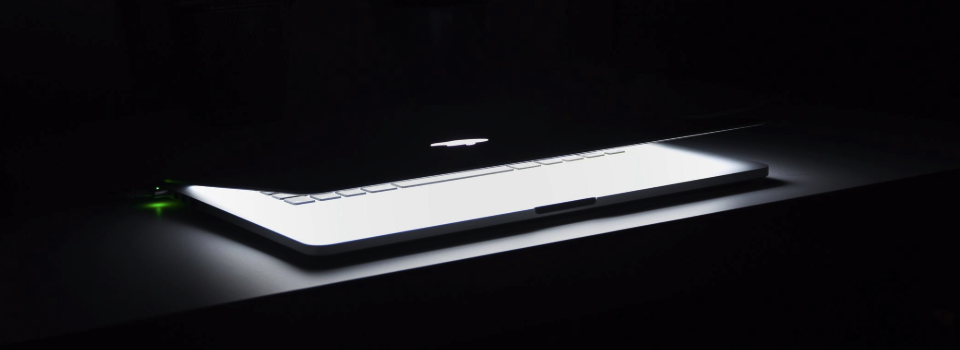
Do you regularly use your Mac at unsociable hours? Or, perhaps you struggle with restless nights, and are eager to try anything that promises to help you get a good night’s sleep?
Research indicates that the blue light emitted by electronics can severely interfere with your body’s circadian rhythms, which may be the reason why you’re struggling to get those recommended 8 hours of shut-eye!
Even if you sleep like a baby every single night (lucky you!), exposure to blue light is also associated with eye strain, tiredness, stress, and mood disturbances. Disrupted circadian rhythms have also been shown to negatively affect your body’s cardiovascular, cognitive, and metabolic functions, and your immune system.
To help reduce the negative effects of blue light, many manufacturers have introduced ways to adjust their electronics for evening and daytime use, when blue light is most likely to destroy your body’s natural circadian rhythms.
In macOS Mojave, Apple introduced a dedicated “Dark Mode,” which is designed to reduce blue light levels during evening and night time hours – but what if you haven’t upgraded to macOS Mojave yet?
In this article, I’ll share all the different ways that you can tweak your Mac’s overall appearance, to limit the amount of blue light you’re exposed to on a day-to-day basis.
Make the switch: Invert colours
Have you ever noticed just how many apps and web pages feature a white background and black text? You can dramatically reduce the amount of blue light you’re exposed to, by turning these white backgrounds black, and black text white.
Here’s this website, in inverted colours:

This is a pretty dramatic shift, so it may not be to everyone’s taste! However, if you’re serious about getting a good night’s sleep, then it’s worth giving invert colours a try:
- Select the “Apple” logo from your Mac’s menu bar.
- Navigate to “System Preferences… > Desktop & Screen Saver.”
- Make sure the “Desktop” tab is selected.
- Choose “Apple,” followed by “Solid Colours.”
- Select the white thumbnail.
- Navigate back to the main “System Preferences…” window.
- Select “Accessibility.”
- In the left-hand menu, select “Display.”
- Select the “Invert colours” checkbox.
Go oldschool, with a black-and-white display
Depending on the apps you use and the websites you visit, large blocks of white pixels may not be the biggest contributor towards blue light levels.
Brightly-coloured pixels can also emit large amounts of blue light, so for some users it may make more sense to switch from a multi-coloured desktop, to a purely black-and-white experience.
To see how this change affects your favourite apps and websites:
- Navigate to “System Preferences… > Accessibility.”
- In the left-hand menu, select “Display.”
- Select the “Use grayscale” checkbox
Try graphite
When it comes to reducing blue light levels, every little tweak can have a positive impact. Although it may seem like a small change, you can dial down the brightness of all your Mac’s buttons, menus and windows, by switching them from bright blue, to shades of grey:
- Navigate to “System Preferences… > General.”
- Open the “Appearance” dropdown, and select “Graphite.”

No more blue highlights
You can also switch Mac’s standard bright blue highlight, to grey. This may seem like a small change, but it impacts many different parts of macOS and lots of different applications. Most notably, every item that you select in the Finder, will be highlighted grey.
However, there’s no guarantee that this change will affect non-Apple applications, so you may still encounter a blue highlight in third party software. For example, even after switching the highlight colour, I still encountered blue highlight in Google Chrome.
To see whether this change has a noticeable impact on the applications you use on a day-to-day basis:
- Launch your Mac’s “System Preferences.”
- Select “General.”
- Open the “Highlight color” dropdown, and choose “Graphite.”
Give the Dock and menu bar a “dark” makeover
Another way to reduce blue light, is to switch the regular menu bars and Dock, for their “dark” counterparts. Just be aware that this feature only impacts macOS and Apple’s own apps, so you may still encounter bright menu bars in third party apps.
To activate the Dark menu and Dock feature:
- Navigate to “System Preferences… > General.”
- Find the “Use dark menu bar and Dock” setting, and select it.
Working late? Try the Night Shift
Before Mojave introduced Dark Mode, Apple gave us “Night Shift.”
On macOS 10.12.4 and later, you can create a schedule that gradually shifts your Mac away from its standard, blue light display, and towards a more yellow-toned end of the spectrum, once it’s approaching your bedtime.
Just be aware that although Night Shift can significantly reduce the amount of blue light you’re exposed to, it can also make your display look noticeably yellow, which some users may struggle with! Here’s how this website looks, with Night Shift enabled:

To setup Night Shift, based on a schedule:
- Navigate to ‘System preferences > Displays.’
- Select the ‘Night Shift’ tab.
- Open the “Schedule” dropdown, and select “Custom.”
- In the “From” field, enter the time when Night Shift should kick in automatically.
- In the “To” field, specify the time when macOS should disable Night Shift, and return to its normal display.
- Now, you can tweak the amount of blue light that Night Shift blocks, using the “Color temperature” slider. This will affect how yellow your monitor appears when Night Shift is enabled, so if you’re struggling with Night Shift’s yellow tinge, then you may want to try dragging the slider to the “Less warm” end of the spectrum, which will dial down those yellow tones.


Add Comment