


Your Mac’s Finder may seem relatively straightforward, but some of its best features are hidden by default.
In this article, I’ll show you how to enable and use the Finder’s hidden Path Bar menu, which displays the full file path for the folder you’re currently viewing, helping you keep track of exactly where you are in the file system.
And, if you like the Path Bar’s functionality but don’t want it permanently cluttering up your screen, I’ll also show you how to get similar functionality, without committing to a constant onscreen menu.
Add the Path Bar to your Finder
To enable the Path Bar:
- Open a new Finder window.
- Select ‘View’ from the Finder menu bar.
- Select ‘Show Path Bar.’
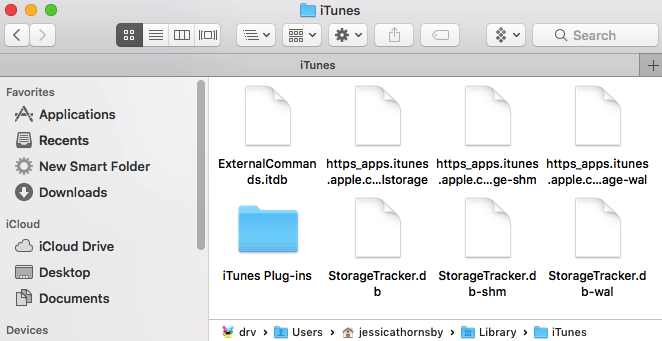
The Path Bar will now appear along the bottom of the Finder window, and display the path from the folder you’re currently viewing, all the way to the top of the file system.
If at any point you change your mind and want to hide the Path Bar, then simply select ‘View > Hide Path Bar’ from the Finder menu bar.
Worried about cluttering up the Finder?
If you’re a fan of the Path Bar’s functionality, but don’t want it onscreen the entire time, then there’s a few ways to get the same information, without permanently sacrificing screen space.
Add a ‘Path’ button
One solution, is to add a ‘Path’ button to the Finder.
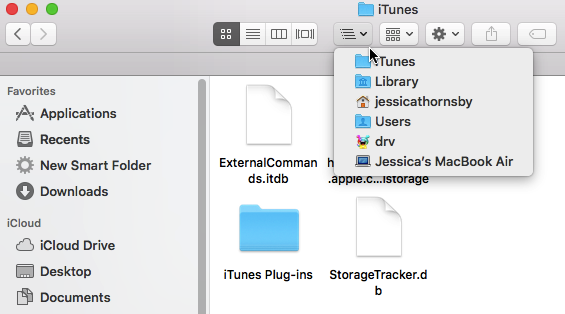
Once you’ve added this button, simply select the item you’re interested in, then give the ‘Path’ button a click, and it’ll display the path to your currently-selected item as a dropdown menu.
To add this button to the Finder:
- Select ‘View’ from the Finder menu bar.
- Choose ‘Customize Toolbar…’
- Find the ‘Path’ item, and drag it onto the Finder’s toolbar. When you’re happy with how the ‘Path’ button is positioned, release it.

- Click ‘Done.’
To use the ‘Path’ button, select any item within the Finder, and give the ‘Path’ button a click – it should now display the item’s full file path, as a dropdown menu.
Easier access to ‘Get Info’
Alternatively, you can add a ‘Get Info’ button that lets you launch the standard ‘Get Info’ menu with the click of a button.
To add this button:
- Select ‘View > Customize Toolbar’ from the Finder menu bar.
- Find the ‘Get info’ button, and drag and drop it into position in your Finder toolbar.
- Click ‘Done.’
Removing toolbar icons
If at any point you want to remove a button form the Finder toolbar:
- Select ‘View > Customize Toolbar…’ from the Finder menu bar.
- Find the button that you want to remove, and drag it away from the Finder toolbar. Release the button, and it should vanish.
- Click ‘Done.’
Alternatively, if you want a quick and easy way to restore the Finder toolbar to its original state, then select ‘View > Customize Toolbar…’ and then drag and drop the ‘default set of icons’ onto the toolbar.
Before you go
After spending over 20 years working with Macs, both old and new, theres a tool I think would be useful to every Mac owner who is experiencing performance issues.
CleanMyMac is highest rated all-round cleaning app for the Mac, it can quickly diagnose and solve a whole plethora of common (but sometimes tedious to fix) issues at the click of a button. It also just happens to resolve many of the issues covered in the speed up section of this site, so Download CleanMyMac to get your Mac back up to speed today.


Add Comment