

Plex Media server is one of those applications that once you start with it, you can’t stop. Far better than iTunes for organising and watching media, and it works on just about any screen, be it a networked flat screen TV, or a standard monitor. It connects via a network cable and can in many cases, be controlled directly from the TV remote itself.
In addition, by serving content over a network connection, you can avoid the intermittent HDMI problems that some older macs have.
And for TVs without a network plug, you can still use Plex, but you’ll need a Google Chromecast device. Plug it into the HDMI port on the back of the TV and power the device through a powered USB port (either on the TV itself or using the supplied power supply to plug into the wall).
What you’ll need to make this work
- Mac computer running OS 10.7 or higher
- A Google account (available from accounts.google.com)
- Google Chrome web browser (available from google.com/Chrome)
- Plex media server (available from plex.tv)
- Google Chromecast
- Television with at least one HDMI port
- Wireless network, connected to the internet
Setup Chromecast
For Chromecast 1.0, you’ll need to set-up the Chromecast from your Android or iOS device. Plug your Chromecast into your TV and connect it to the power. Then turn on the TV and switch to the HDMI port it’s connected to.
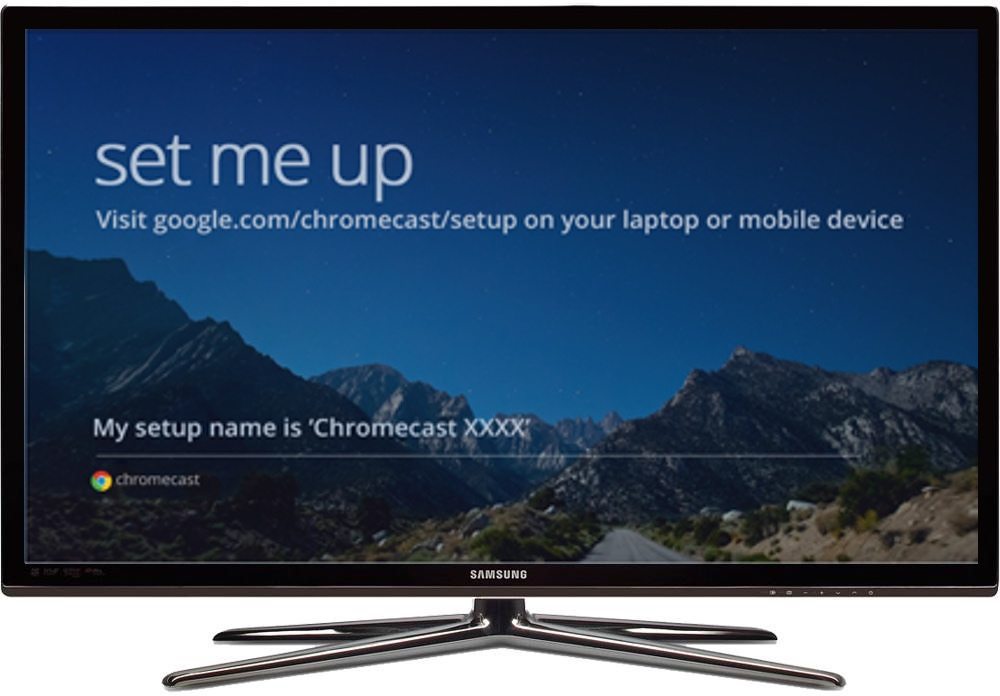
In your web browser, connect to: http://chromecast.com/setup
Then download the app from the Google Play store, or Apple App Store. Fire up the application and connect your phone to the network that the chromecast is creating. It’s the same as displayed on your TV. Once that’s done, you can set-up Chrome.
Install Chrome and the Chromecast extension
Download and install Chrome browser from the website. Then open the browser and click the menu icon and log in using your username and password.
From there you can install the Chromecast extension from the Google Play Webstore.

Last, to make sure Chrome is set as the default browser, in the Chrome menu bar, choose:
Chrome > Settings > Default Browser > Make Google Chrome the default browser.
Set up Plex media server
Naming your files
Plex serves media from folders you assign. It won’t play DVDs at this time.
First, work out where your media is located on your computer, and make sure it’s named according to the Plex naming standards, found here.
In short, you should create a TV and Movies folder. In the TV folder, you have subfolders for shows, seasons and the episodes, so for example:

You don’t have to include the episode titles if you don’t want to, they’re filled in automatically by the Plex system over the internet.
In the movies folder, you can have just the movie titles, so for example:

If a movie has a remake, then put the date of the movie in the title, for example:

Install Plex
Next, download Plex. Install it on your computer, then double-click to run from your dock menu. Once you see the plex icon in the Menu bar, click the Plex icon once more and choose Media Manager, then complete the setup wizard.

When it’s complete it should have located the media on your drive, and you can begin.
Watching Plex streamed content through Chrome
Turn on your TV and change to the HDMI port the Chromecast is connected to.
Then in the media manager tab of Google Chrome, click the Chromecast icon.

Choose the Chromecast device, in this case it’s 8835, and the Plex logo will appear on your TV screen. You can then select your media to play through your computer, and it’ll appear on your TV for you to watch!
Before you go
After spending over 20 years working with Macs, both old and new, theres a tool I think would be useful to every Mac owner who is experiencing performance issues.
CleanMyMac is highest rated all-round cleaning app for the Mac, it can quickly diagnose and solve a whole plethora of common (but sometimes tedious to fix) issues at the click of a button. It also just happens to resolve many of the issues covered in the speed up section of this site, so Download CleanMyMac to get your Mac back up to speed today.


Add Comment