


Why settle for one version of macOS, when you can have two?
Perhaps you’re desperate to try out the latest beta release, but need a more stable version of macOS for your day-to-day work? Perhaps your favourite apps aren’t compatible with the latest and greatest release, or maybe you’re an app designer, developer or tester who needs an easy way to check how your app looks and functions across different versions of macOS?
In this article, I’ll show you how to run two versions of macOS, side-by-side on the same Mac. By the end of this article, you’ll have used dual booting to install two versions of macOS on your machine, and will be able to choose between them, every time you start up your Mac.
Don’t forget your backup!
Before making any system-level changes, you must always make a full Time Machine backup, just so you have something to restore in the unlikely event that everything goes horribly wrong.
Create a new volume
With the release of High Sierra and Mojave, dual booting has just become a lot easier! These versions of macOS support Space Sharing, which is a feature of the Apple File System (APFS) where the available space is shared between different volumes, so you can install a second version of macOS with no reformatting required.
The first step, is to create a new volume:
- Open the “Finder” and navigate to “Applications > Utilities.”
- Launch the Disk Utility app.
- In the Disk Utility toolbar, select “View > Show All Devices.”

- In Disk Utility’s left-and menu, select an existing APFS volume, and then select the “Volume: Add” button.
- Give your new APFS volume a name.
- Open the “Format” pop-up menu, and then choose a format. If you’re using macOS 10.13 or later, then APFS is the recommended format. Alternatively, you can use APFS (Encrypted), APFS (Case-sensitive), or APFS (Case-sensitive, Encrypted).
- If you want to manually manage the APFS volume allocation, then select “Size options” and enter a “Reserve Size,” which is the amount of storage that will always be available for this volume. You can also set a “Quota Size” which is the maximum amount of storage this volume can allocate.
- Once you’re happy with the information you’ve entered, select “OK” followed by “Add.”
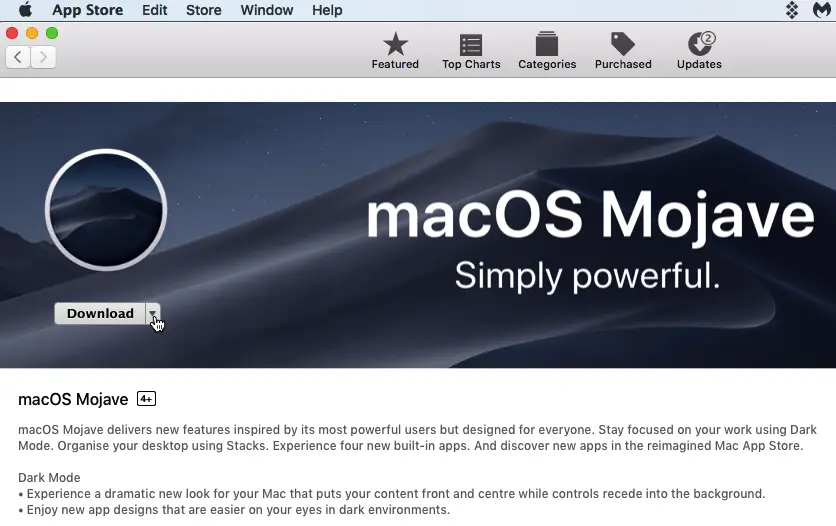
Download the correct installer
Next, you need to download the installer for the version of macOS that you want to install. If this is a newer version of macOS, then you can download the installer as normal, but if it’s an earlier version of macOS then things become slightly more complicated.
In the best case scenario, you’ll want to dual boot a version of macOS that you previously downloaded, as this means you’ll be able to re-download the installer from the App Store.
If you want to install a version of macOS that you never downloaded from the App Store, then you’ll need to enlist the help of another Mac user. macOS installers aren’t user-specific, so if you have a colleague, friend or family member who has previously downloaded this version of macOS, then they’ll be able to download the necessary installer for you.
Even if you’re struggling to download the correct installer, you should always avoid the temptation to download this version of macOS from any third party. Pirated software can often contains viruses and malware, so if you download macOS from anyone other than Apple, you might get more than you bargained for!
Install macOS on a new partition
Now you have your installer and partition, you’re ready to install a second version of macOS:
- Double-click to launch the installer.
- When asked to select a destination, choose the volume that you just created.
This new version of macOS will now be installed, on your new volume.
Switch between versions of macOS
You can switch between these versions of macOS at any time, by restarting your Mac while holding down the “Alt/Option” key. When prompted, select the partition that you want to access, and your Mac will then boot into that volume – and its version of macOS.
Before you go
After spending over 20 years working with Macs, both old and new, theres a tool I think would be useful to every Mac owner who is experiencing performance issues.
CleanMyMac is highest rated all-round cleaning app for the Mac, it can quickly diagnose and solve a whole plethora of common (but sometimes tedious to fix) issues at the click of a button. It also just happens to resolve many of the issues covered in the speed up section of this site, so Download CleanMyMac to get your Mac back up to speed today.


Add Comment