


There’s many reasons why you might want to take screenshots on your Mac. Perhaps you’ve seen something funny that you want to share with friends, or maybe you’re getting remote assistance, and tech support want to see exactly what’s happening on your screen.
By default, every screenshot you take is saved to your Desktop, but what if you’d prefer to store screenshots in a different location, such as the system’s Documents or Desktop folder? Or, perhaps you’ve created a dedicated ‘Screenshot’ folder, especially for your snaps?
In this article, I’ll show you how to use macOS’ built-in Terminal, to change the location where your screenshots are stored.
Changing screenshot location with the Terminal
You can store your screenshots in any folder, but in this example I’m going to be changing macOS’ default behaviour so that it saves all of my screenshots to the ‘Documents’ folder.
Just a word of warning: make sure you’ve actually created the folder before applying this change, as asking macOS to save screenshots to a folder that doesn’t exist can cause problems!
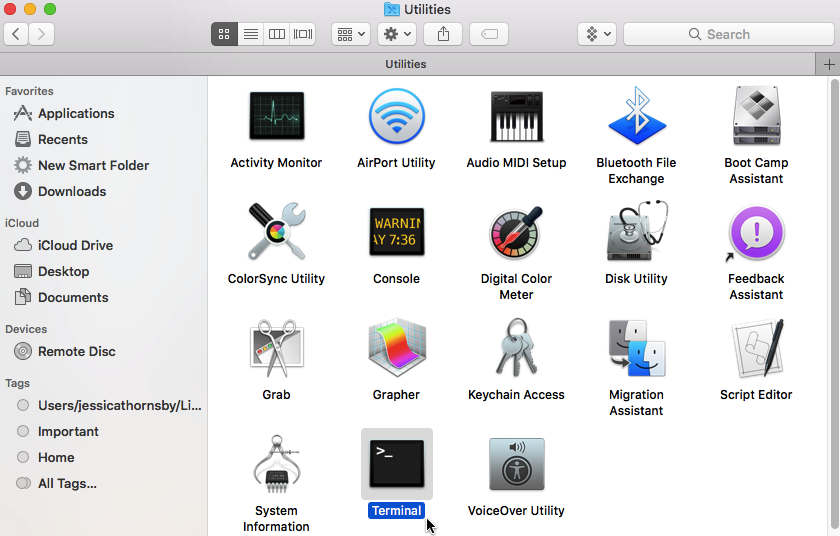
- Navigate to ‘Applications/Utilities’ and launch your Mac’s Terminal application.
- Copy/paste the following command into the Terminal – don’t forget to change the location to the folder where you want to store your screenshots!
defaults write com.apple.screencapture location ~/Documents
- Press the ‘Enter’ key on your keyboard.
- Copy/paste the next command into the Terminal:
killall SystemUIServer
- Press the ‘Enter’ key.
Don’t want to type the full file path?
You can save your screenshots to any folder, by typing the “defaults write…” command. However, if you want to save your screenshots to a directory that’s buried deep in the file system, then this can result in a Terminal command that’s long and complicated, and pretty daunting to type manually.
To save yourself some typing:
- Type the first part of the command, but don’t press the ‘Enter’ key just yet.
defaults write com.apple.screencapture location
- Open a ‘Finder’ window and navigate to the folder where you want to save your screenshots.
- Drag and drop this folder into the Terminal. The folder’s entire file path will be added to the Terminal command automatically.
- Press the ‘Enter’ key on your keyboard.
- Copy/paste the following command, and then press ‘Enter.’
killall SystemUIServer
Put your new location to the test
To check that the Terminal command has been successful, it’s a good idea to take a few screenshots and check that they’re being stored in the correct location.
- To take a screenshot of your entire screen, use the ‘Command + Shift + 3’ keyboard shortcut.
- To get selective, use the ‘Command + Shift + 4’ keyboard shortcut, and then use the crosshairs to select the portion of the screen that you want to screenshot.
- To screenshot a specific window, press the ‘Shift + Command + 4’ keys and then press the ‘Space’ bar. The pointer will then transform into a camera. Move the camera over the window that you want to screenshot, until that window is highlighted blue.
- If your Mac has a Touch Bar, then you can take a screenshot of the Touch Bar using the ‘Shift + Command + 6’ keyboard shortcut.
Changed your mind? Switch back to the Desktop
If you want to resume saving screenshots to the Desktop, then:
- Open the Terminal (Applications/Utilities/Terminal).
- Copy/paste the following command into the Terminal:
defaults write com.apple.screencapture location ~/Desktop
- Press the ‘Enter’ key on your keyboard.
- Copy/paste the next command into the Terminal:
killall SystemUIServer
- Press ‘Enter.’


Add Comment