


Ever since Apple released Mountain Lion, it’s been possible to use voice dictation in any application where you would normally use the keyboard to enter text. When using the Dictation, your speech is sent to Apple’s servers for analysis – much in the same way that Siri works on the iPhone and iPad. This is a great and surprisingly accurate feature that can make it easier to write, though it is limited to 30 seconds at a time.
Thankfully, Mavericks takes this a step further with the Enhanced Dictation feature – basically it will download the speech recognition functionality to your Mac and process speech locally, even when you don’t have a network connection.
This article explains how to turn on and use Dictation, and also describes the new Enhanced Dictation feature.
How to Enable Dictation
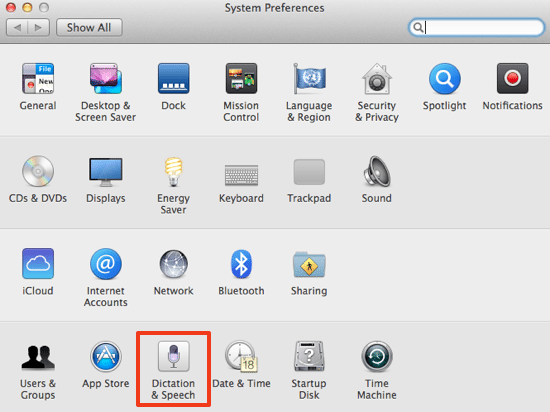
To turn on Dictation, open up System Preferences either from the Settings icon in your Dock, or type Dictation into Spotlight. Down at the bottom you’ll see the Dictation & Speech icon – click on this once to open the settings screen.
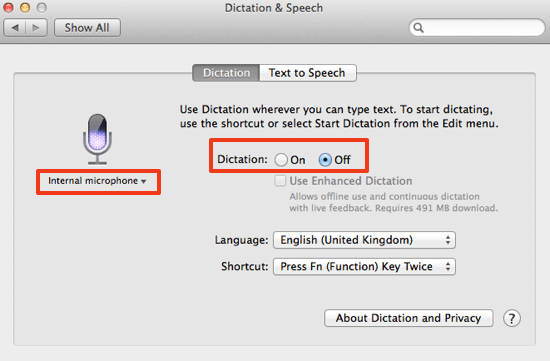
Next, you’ll see various options. Your computer’s microphone icon is shown on the left (with a dynamic ‘level’ indicator shown in purple as it picks up audio). Below the mic, the current audio source is indicated – it defaults to the internal microphone, but you can change this by using the drop down arrow.
Once you’ve done that, set the radio button to On (it’s Off by default):
Before Dictation is actually enabled, a warning message is displayed informing you that your data and information will be sent to Apple. Click on Enable Dictation to continue.

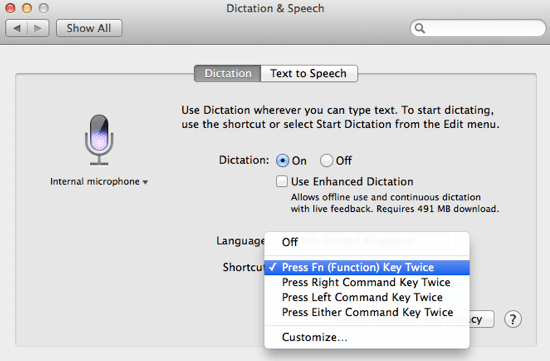
The next thing to do is to choose the shortcut key that you’ll use to activate Dictation within any document. The default is set to press the Function key (Fn) twice, though you can also choose any of the other options or even customise it to use practically any key combination.
Once you’ve set all the options, you can start using Dictation in lots of apps where you’d typically type text – such as Pages, Mail or Notes.
Using Dictation
Dictation is pretty simple to use and behaves pretty much as expected. Open an application (Pages in this example) and use the shortcut key that you setup earlier to start dictating. A small microphone icon pops up as shown below, ready for you to speak. Regular Dictation (i.e. not the enhanced mode) lets you talk for up to 30 seconds at a time – which is fine for emails but not so great for Word documents where you’d typically enter longer passages of text.
Once you’ve finished speaking, click the Done button or press the shortcut key once.

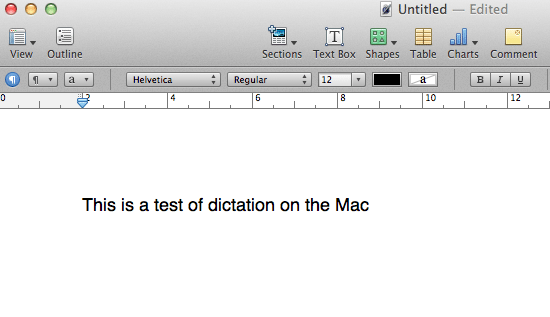
Hopefully, your words will now appear accurately captured as text onscreen, as shown below. But just how accurate is it? Apple has done a pretty good job with Dictation – there are the occasionally mistakes, but on the whole it works extremely well and can be a great way to compose messages, mails, and even write short documents.
Enhanced Dictation
You might wish to use Dictation when you don’t have a network connection, or perhaps you are just cautious about allowing your speech to be uploaded to Apple’s servers for processing. Mavericks improves upon the standard Dictation feature by enabling you to download an expansion (491 MB in size) that carries out all the processing locally on your Mac.
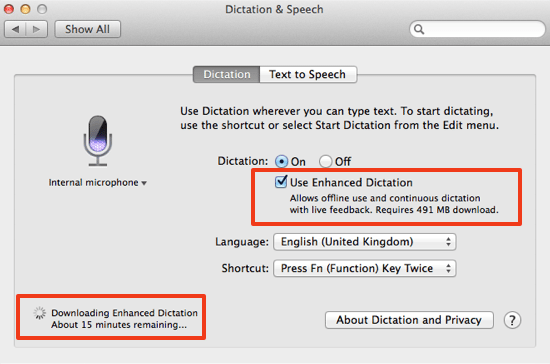
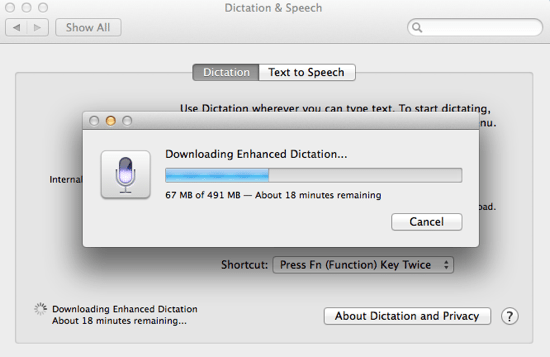
Once you’ve selected Enhanced Dictation, the download will begin – but you might need to wait some time depending upon the speed of your Internet connection…
Here’s an example of the text that was captured using Enhanced Dictation:
“This paragraph has been dictated using dictation and it types as you speak in real-time. The enhanced dictation seems to work much more quickly than standard dictation and it’s extremely accurate. Once you start using it you might find a much prefer speaking into your Mac than actually typing, as most people can talk more quickly than they can type anyway.”
And another:
“The accuracy of dictation is surprisingly good. There are few mistakes, and those that are can corrected manually later on anyway. As you can see so far so good, and no mistakes. What a result!”.
You can also use punctation marks – just say “full stop”, “comma”, “exclamation mark” or “new line” for example. It’s astoundingly good, and certainly one feature that I’ll be making much more use of in future.
Before you go
After spending over 20 years working with Macs, both old and new, theres a tool I think would be useful to every Mac owner who is experiencing performance issues.
CleanMyMac is highest rated all-round cleaning app for the Mac, it can quickly diagnose and solve a whole plethora of common (but sometimes tedious to fix) issues at the click of a button. It also just happens to resolve many of the issues covered in the speed up section of this site, so Download CleanMyMac to get your Mac back up to speed today.


Add Comment